 If you are a collector of Lego Minifigures – either the ‘blind bag’ collections or perhaps a particular range – you might struggle to find a good solution to storing them all in a nice display case. Sure, you can buy a variety of options that do the job, but they’re all very expensive and not particularly nice looking.
So when I was looking to solve this problem for myself – and to find a place to store the nearly-200 figures I’ve collected over the past 5+ years – I decided to make my own instead. I found a few different designs on pinterest, and one my favourites is really easy to make – and can cost under a fiver! All you need is a “Ribba” 23x23cm frame from Ikea (currently £3.50), some spare 2×2 Lego bricks, paint and some superglue.
I had plenty of bricks lying around, but if you’re going to make a few owf these, you can order individual bricks from the Lego “Pick a Brick” store – the white square bricks I’m using cost 11p each, or less if you get them from a Lego Store. Superglue you can buy pretty much anywhere!
So here are my step-by-step instructions to making your own Lego Minifigure Display Frames – all handily illustrated with photos!
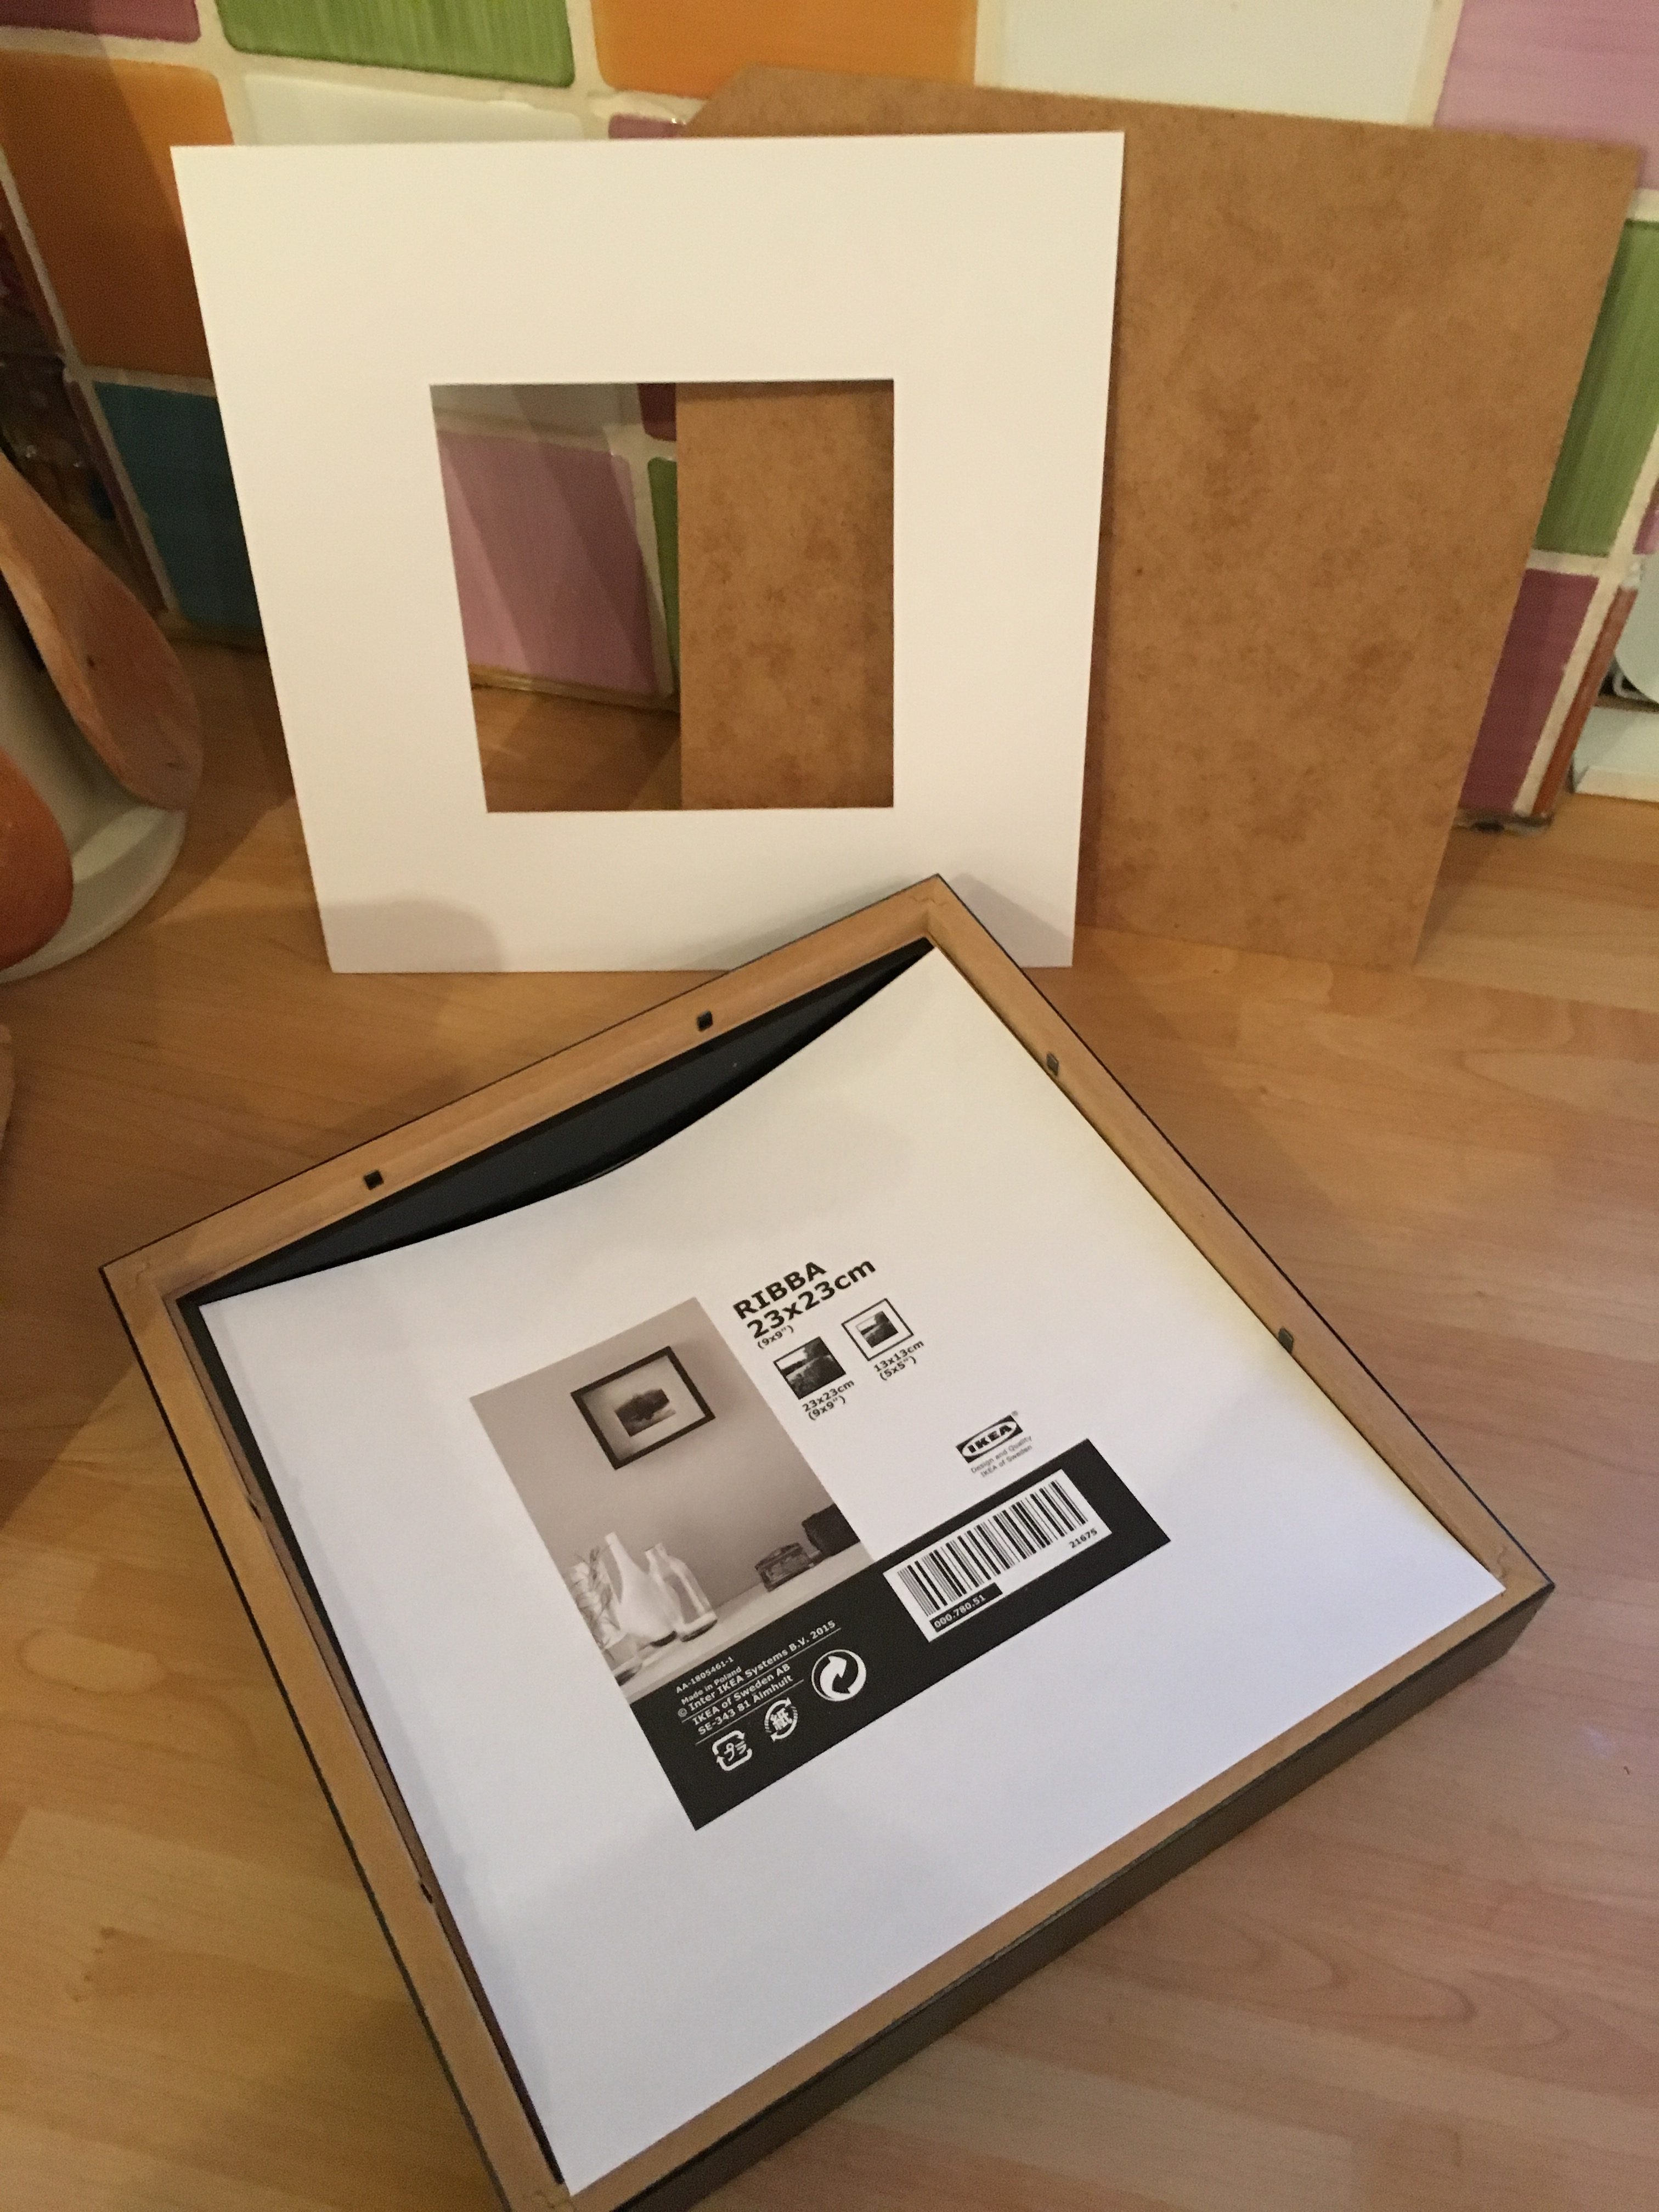
Step 1: Get yourself an Ikea 23cm by 23cm square frame
If you’re going to order them online, I’d recommend getting a few at the same time to save yourself on the delivery costs! They’re available in all Ikea stores though.

Step 2: Open up and take the backing board out
Keep it safe for now, but you can discard the cardboard square. Keep the piece of white paper though, as this will form your template for the brick placement.
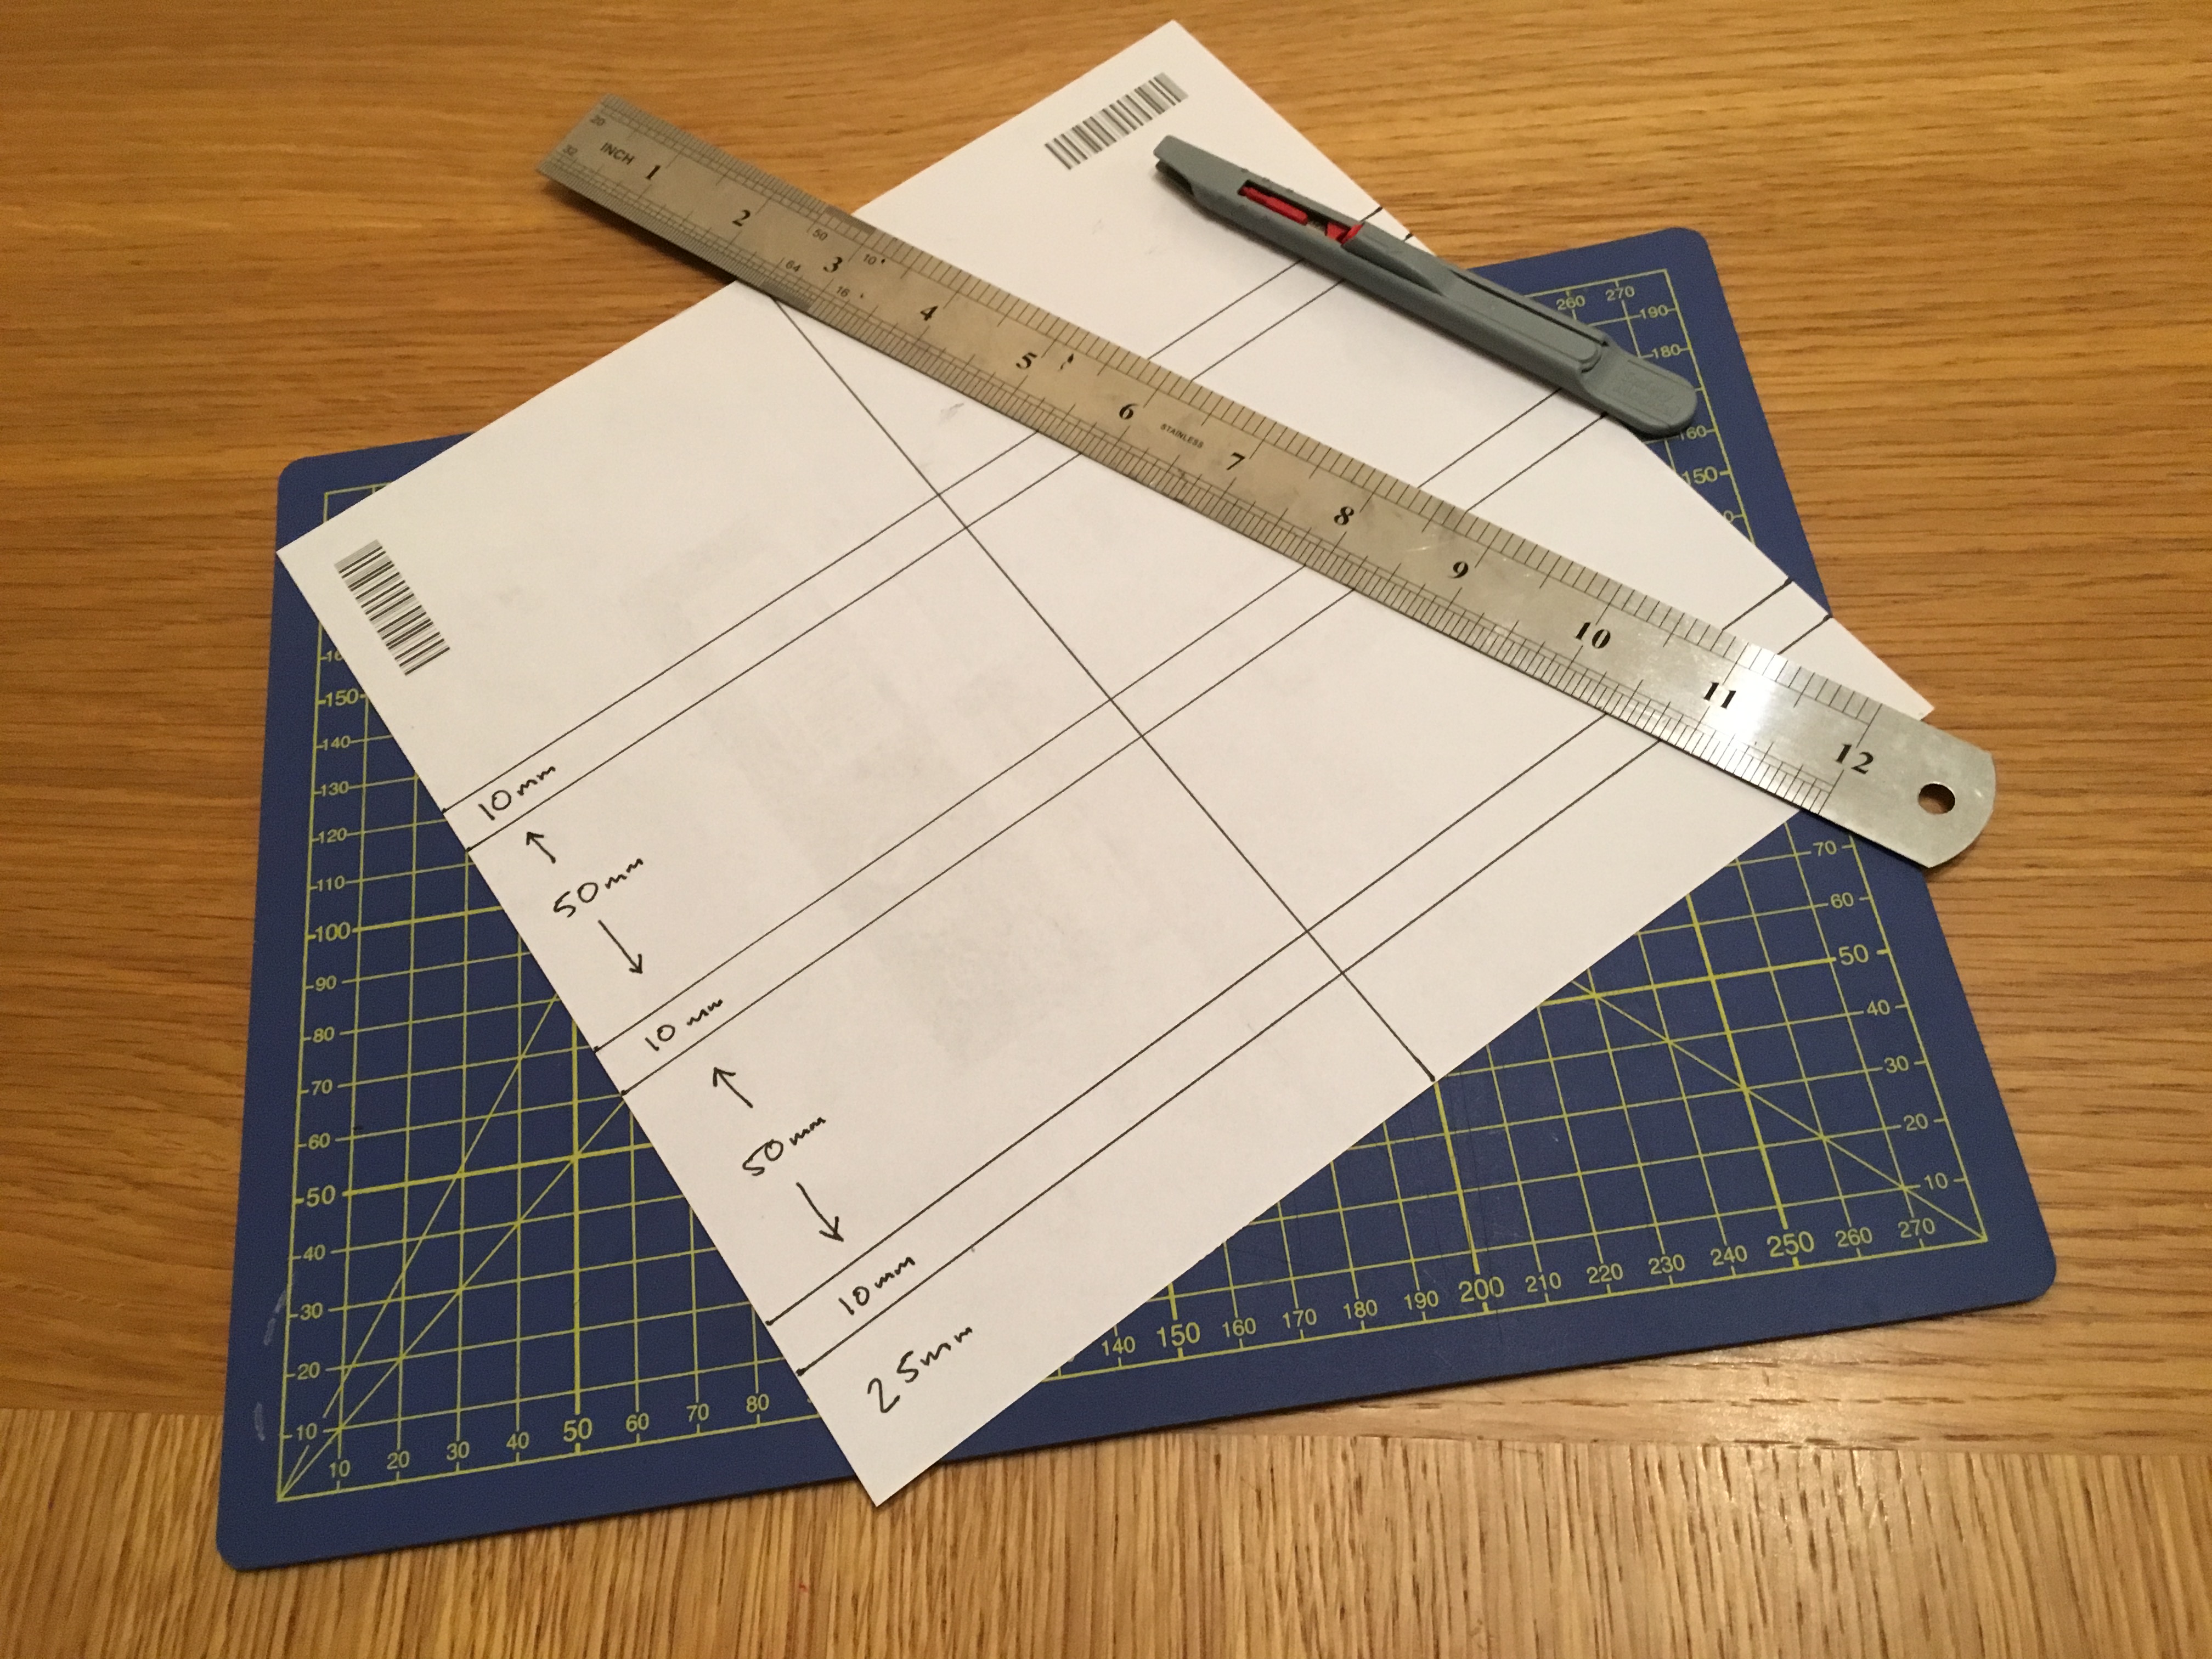
Step 3: Use the paper to create your brick-placement template
Obviously you can customise the arrangement and placement of the bricks to suit your needs, but the measurements shown below will help you to create a case for a 16-figure collection. Once you’ve created the template, you can use it over and over again!
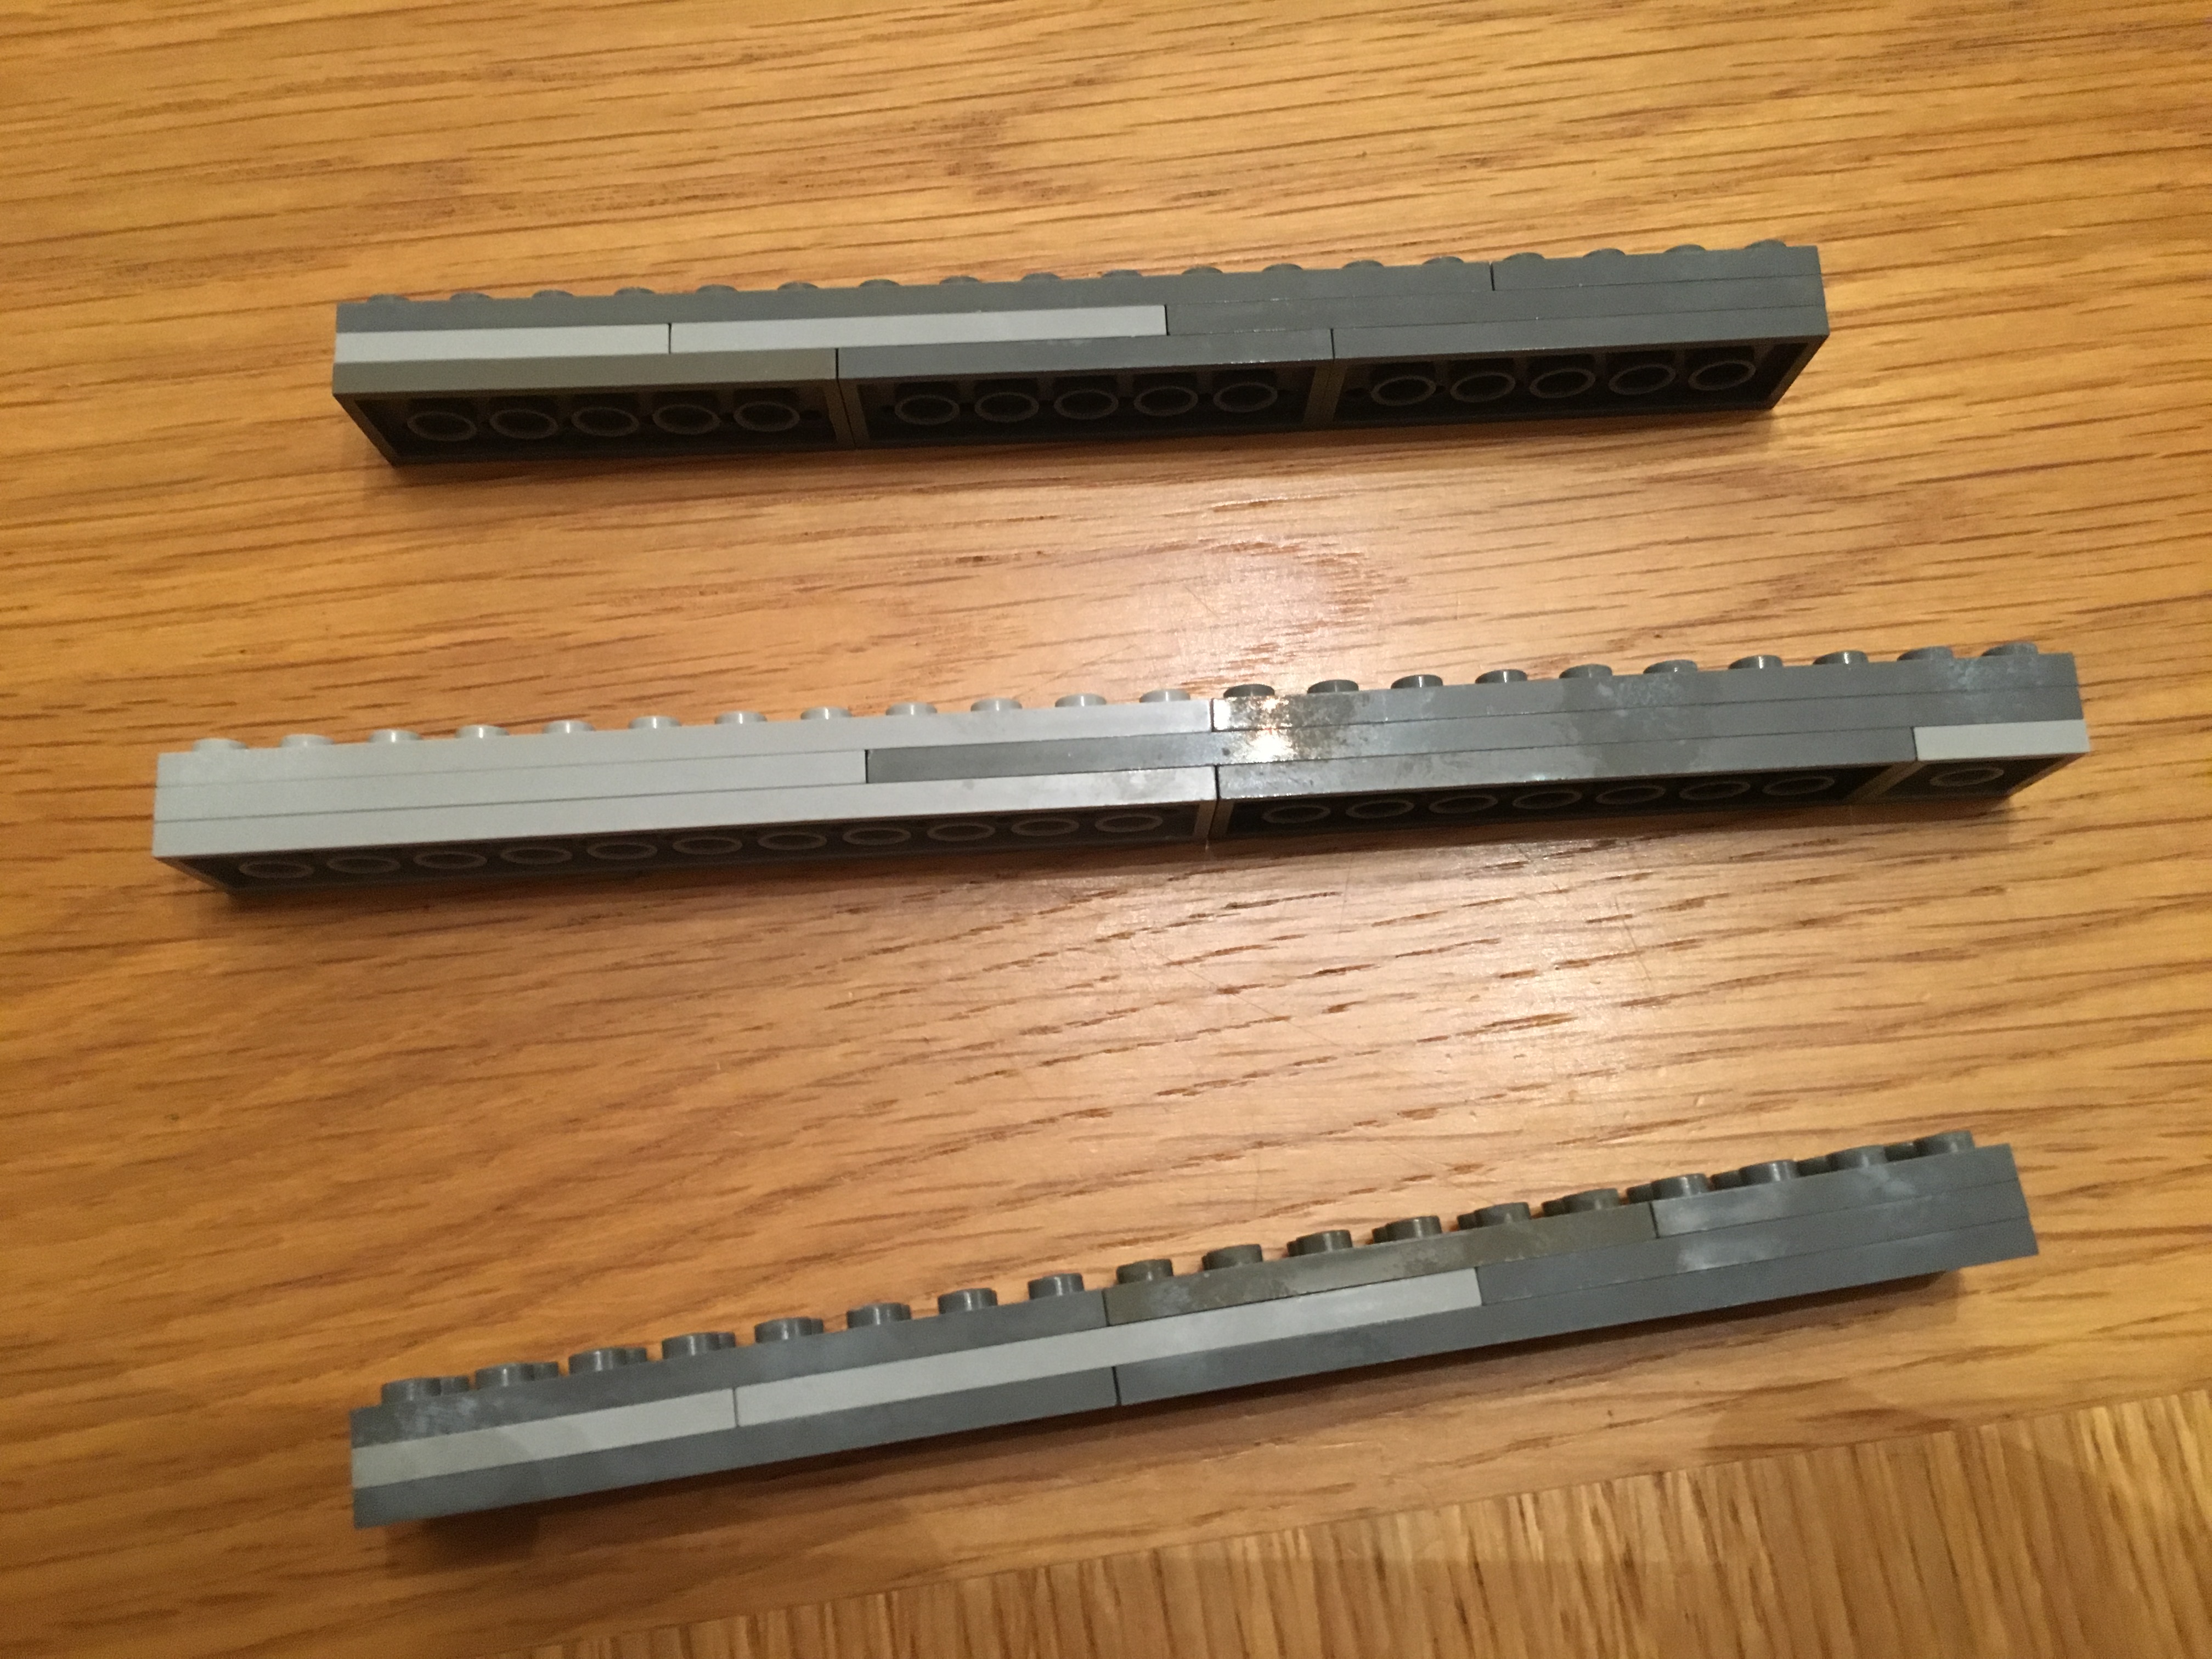
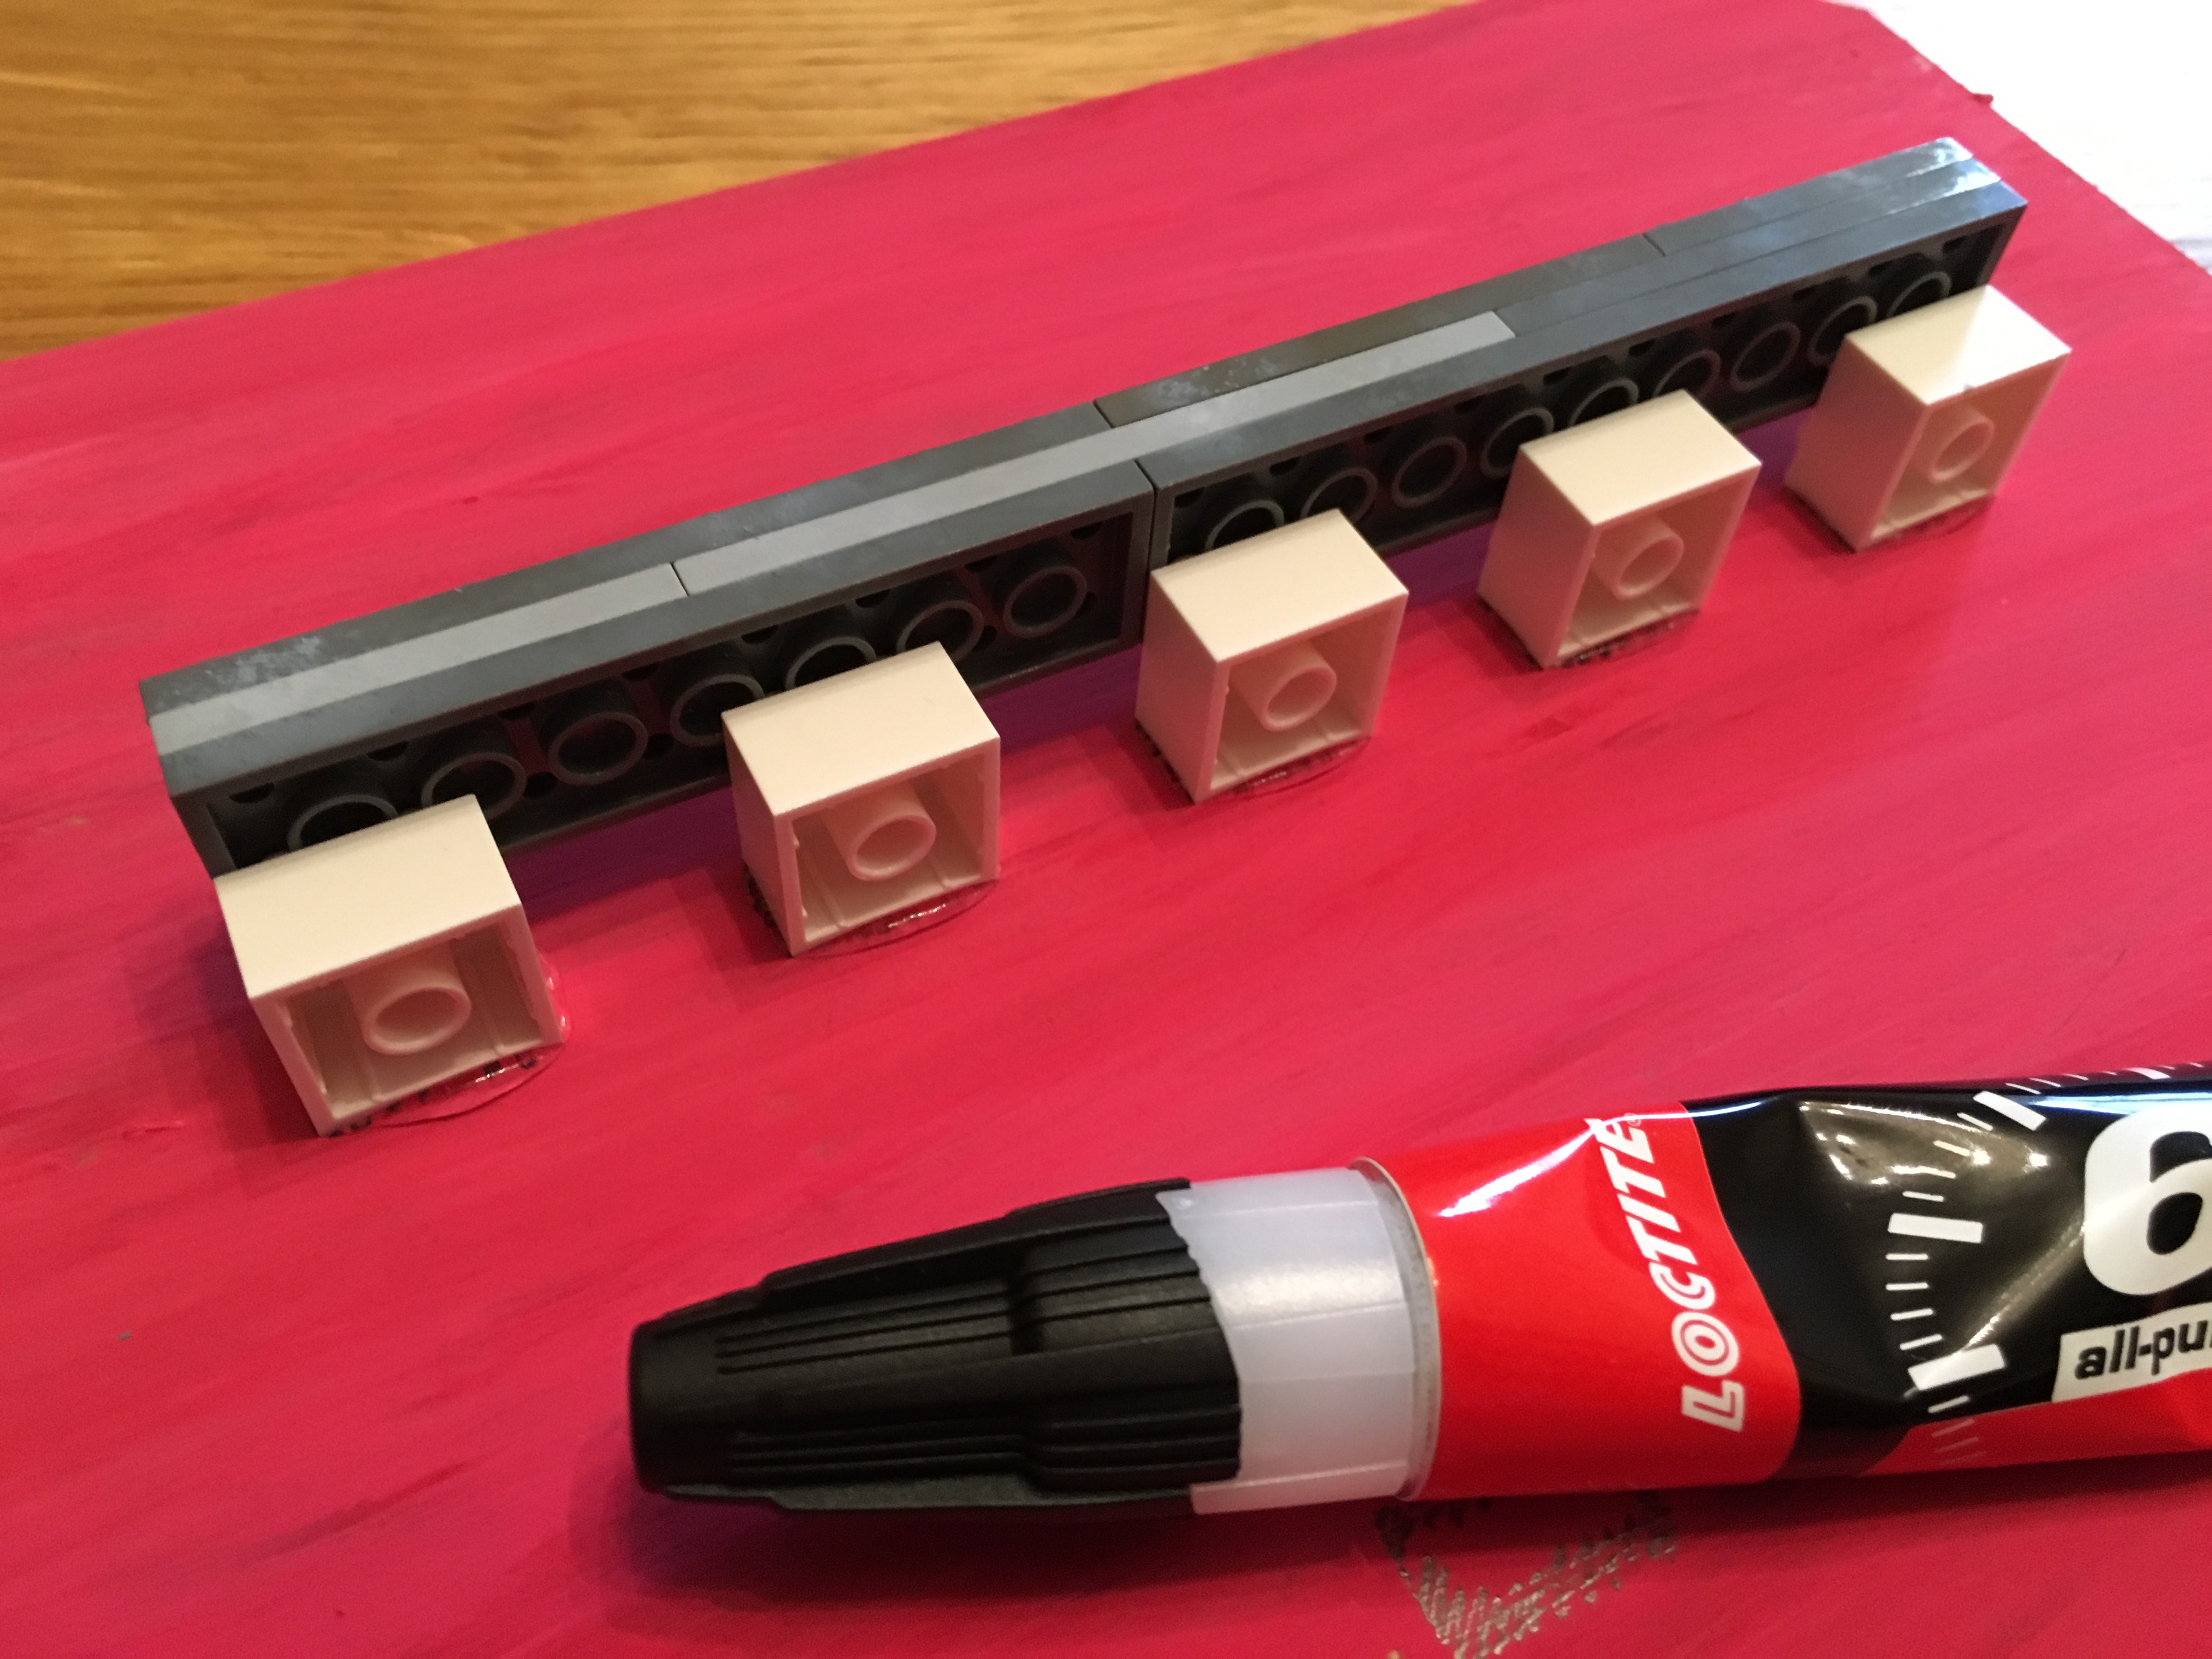
Step 4: Create yourself some Lego “holding” batons
Again, these ones are for a 16-figure collection, but you can customise. The three you can see hear are 18 and 22 studs long, to hold the 5 – 6 -5 configuration of bricks you’ll need. These batons help to ensure the bricks stay in place while the glue dries.
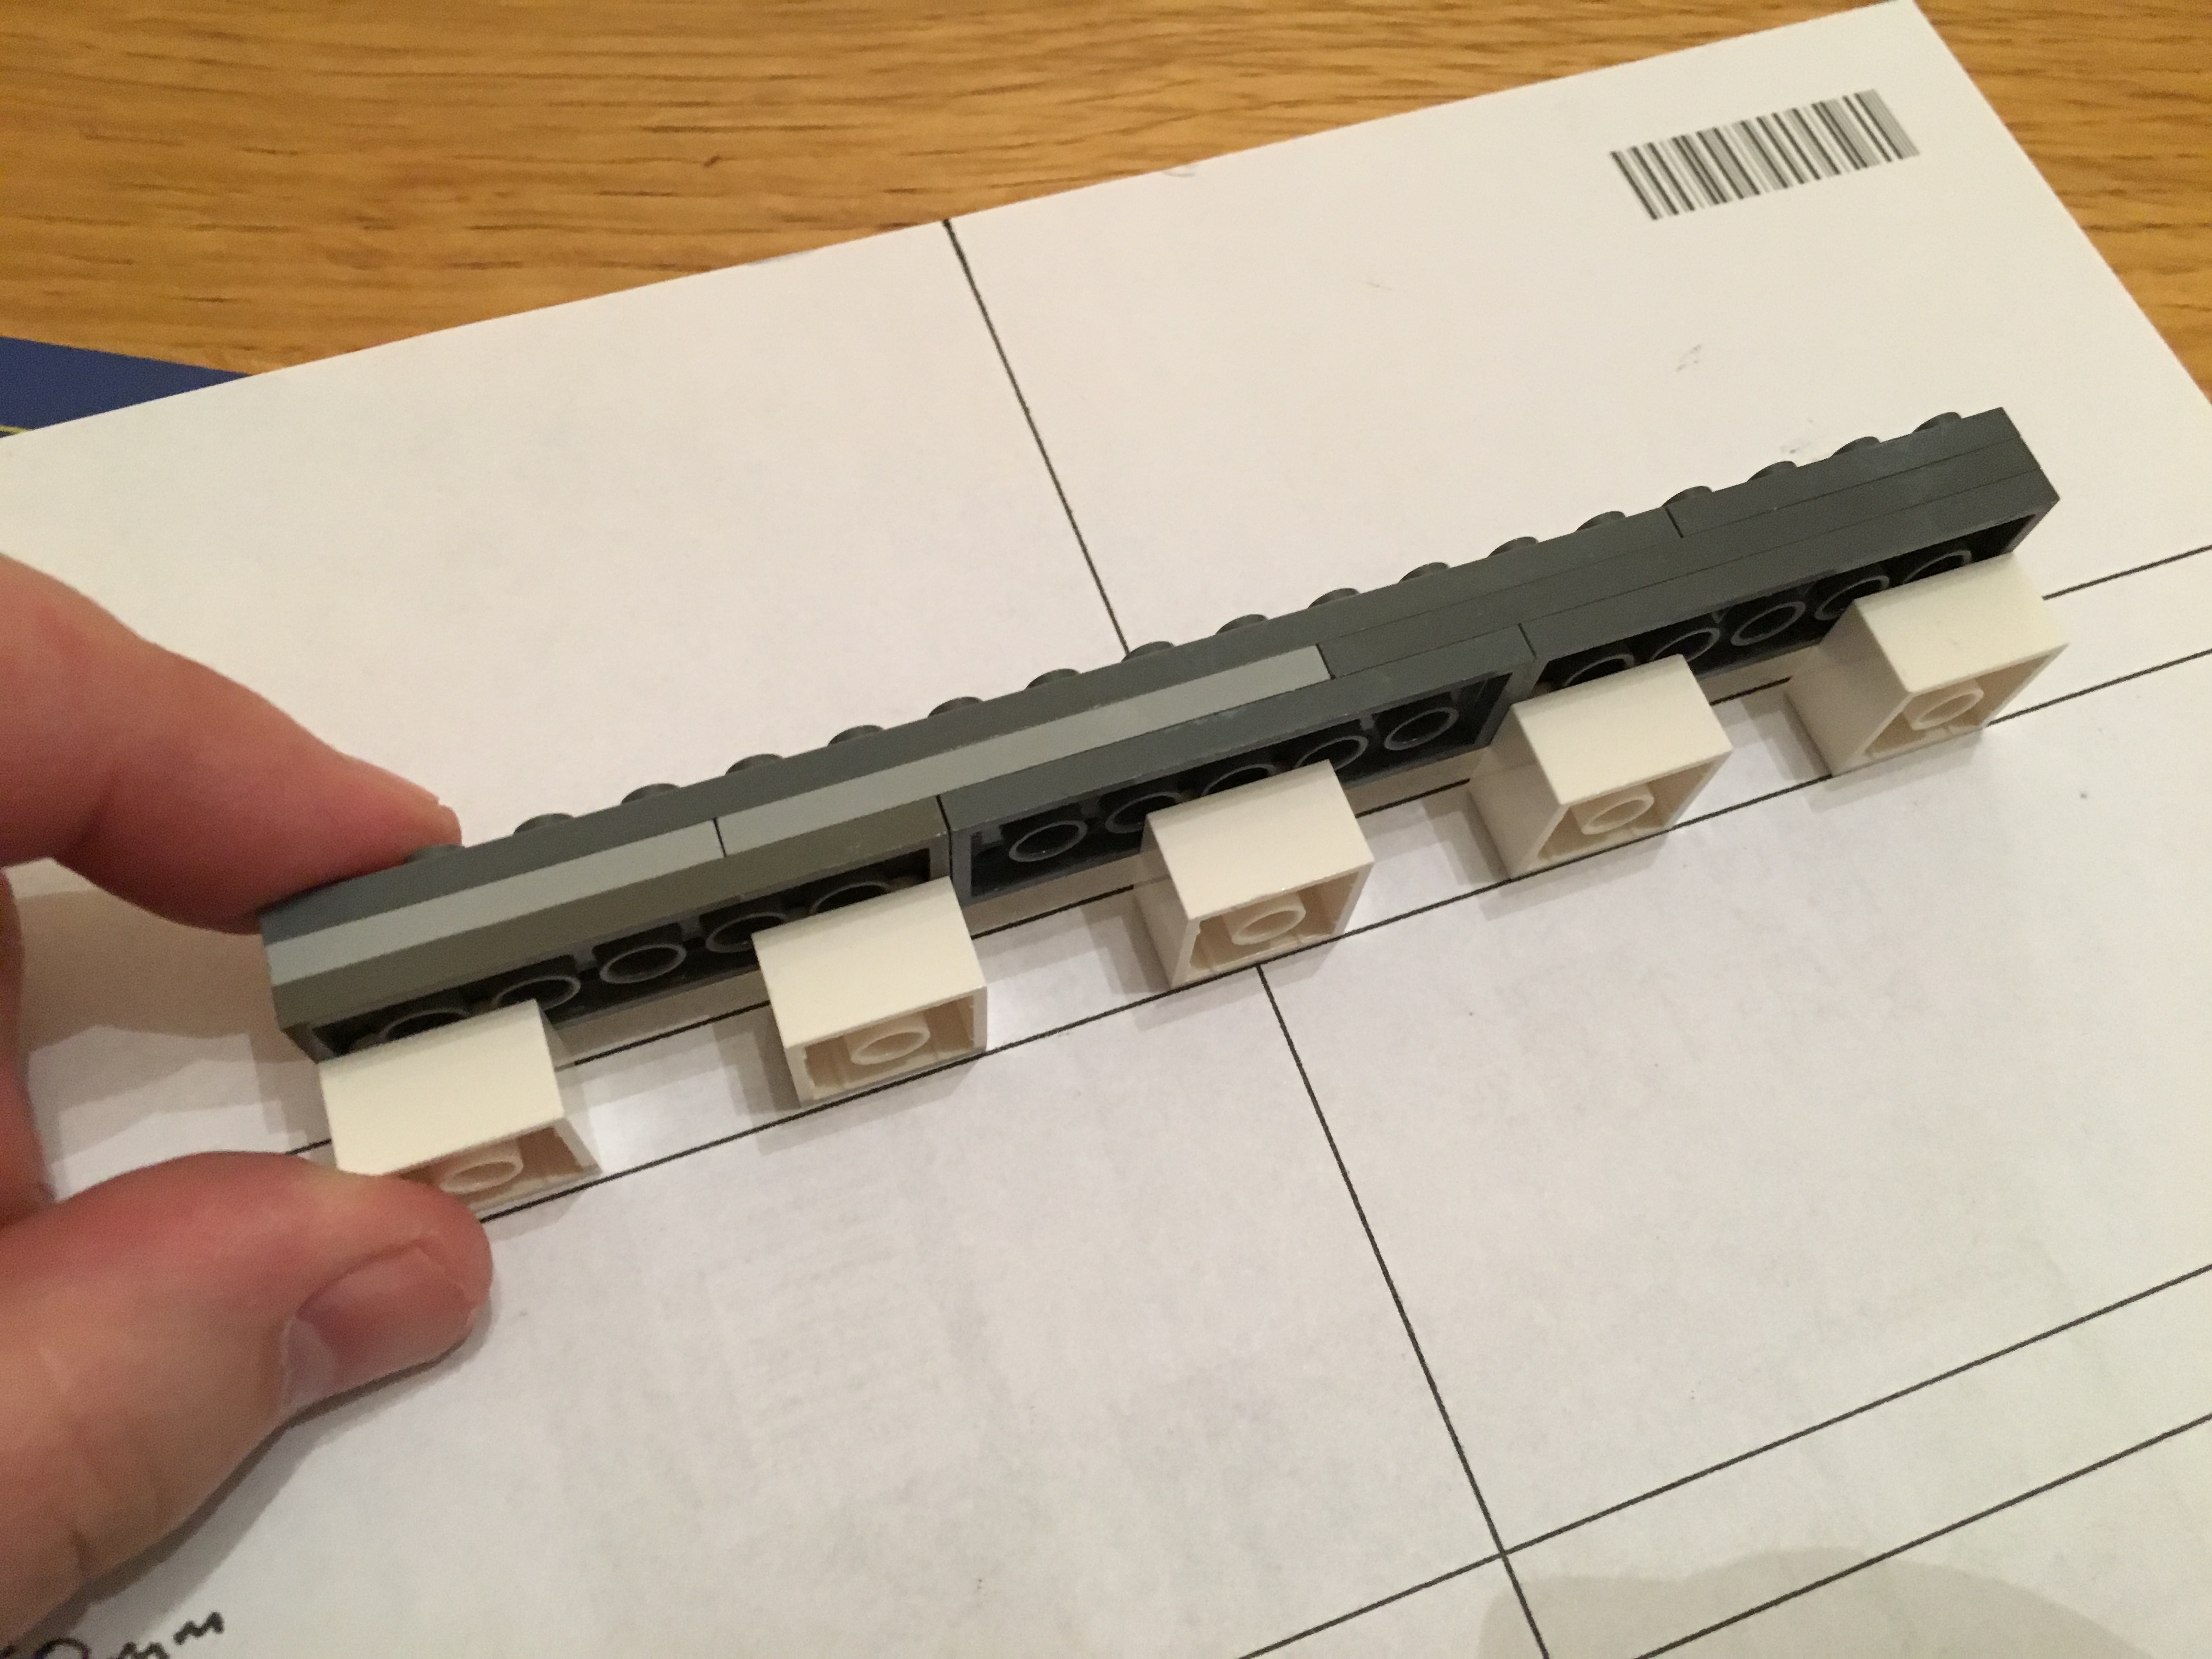
Step 5: Attach your bricks to your batons and draw around
This is a much easier solution than having to measure-up the placement of each brick – just draw around them over the top of your template. NB: Make sure to only attach them so that one set of studs is covered – this ensures that later on you can remove the batons once the glue is dry without worrying that any leaked glue will have stuck them to the board.
Step 6: Cut out all the holes where the bricks will go
Use a stanley knife or scalpel for this – don’t worry too much about accuracy though. The holes are only used to allow you to draw a template on your backing board.

Step 7: If desired, paint your backing board
I use acrylic paint for this job, as it both sticks to the shiny board well (poster paint tends to flake off when dry) AND adheres to the superglue. For the “blind bag” collections, I tend to paint the backing board in the same colour as that particular series’ collection colour.

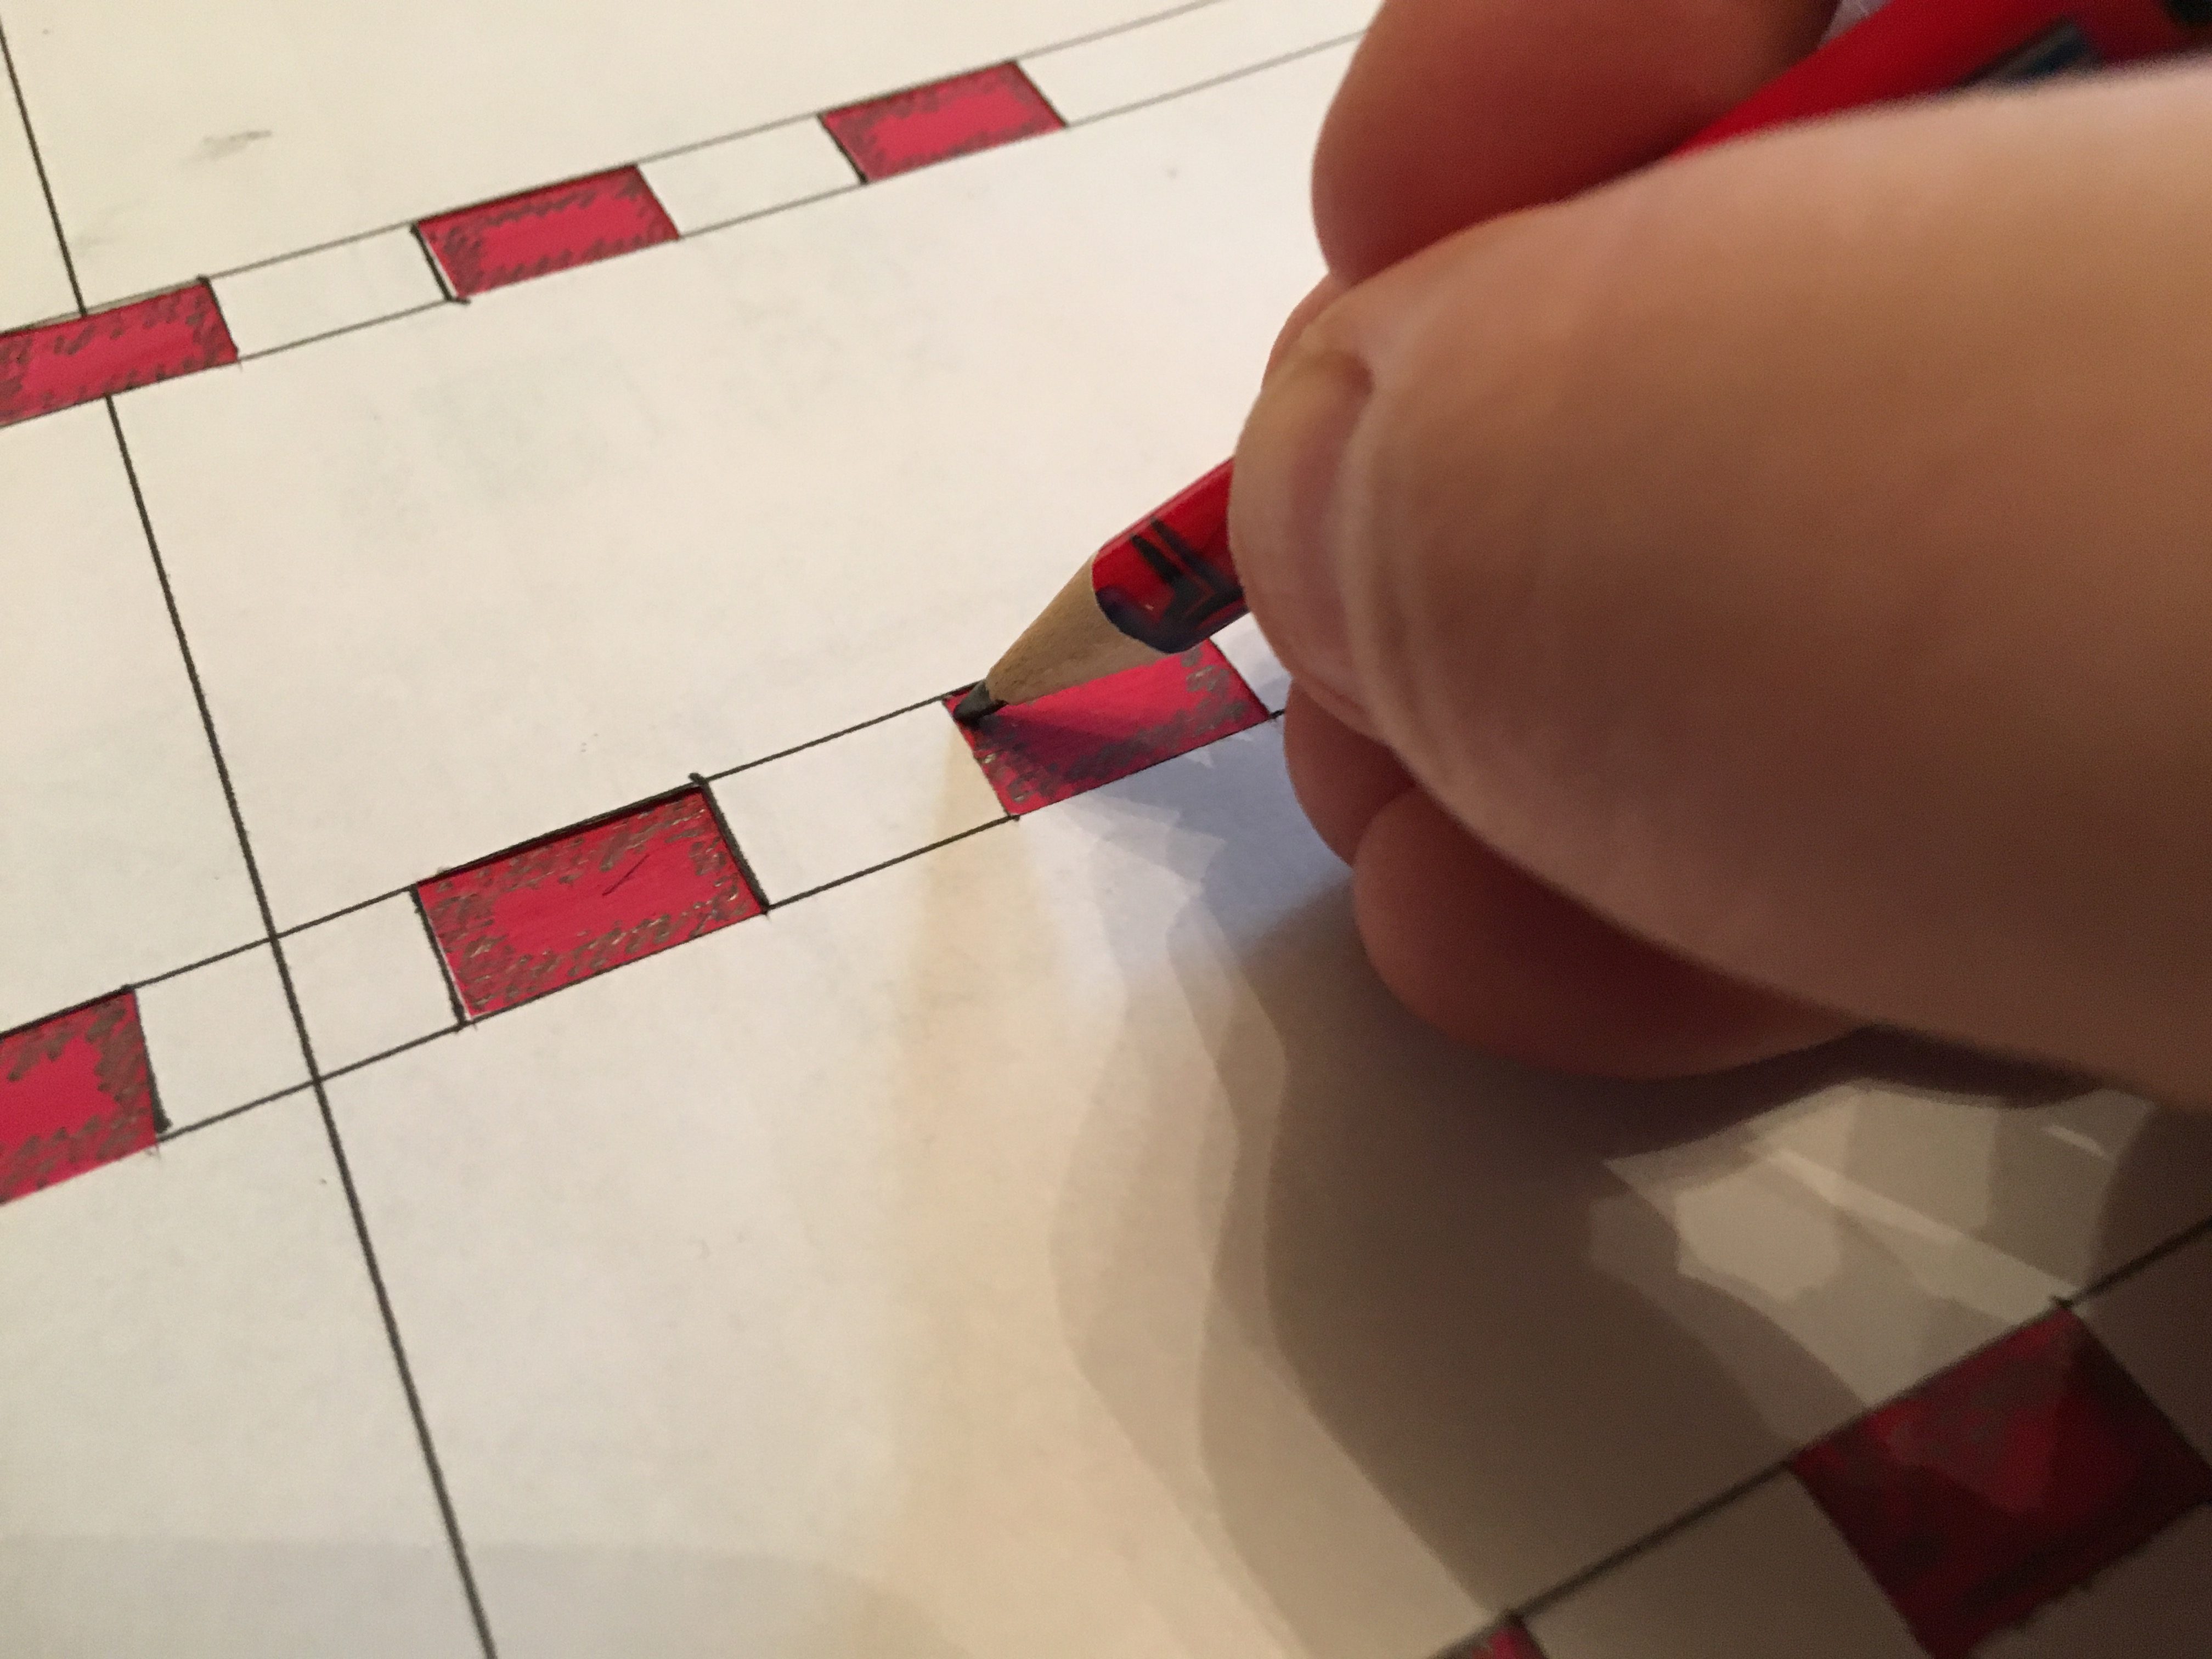
Step 8: Use your template to mark the brick spaces
Once the paint is dry, use a pencil to mark on the backing board the spaces where the bricks will go. As before, you don’t need to worry too much about accuracy – the batons you have created will ensure they are all lined-up straight.
Step 9: Superglue your bricks into place on the board
Make sure you let the glue dry for a suitable amount of time before removing the batons. This technique could take some practise to master!
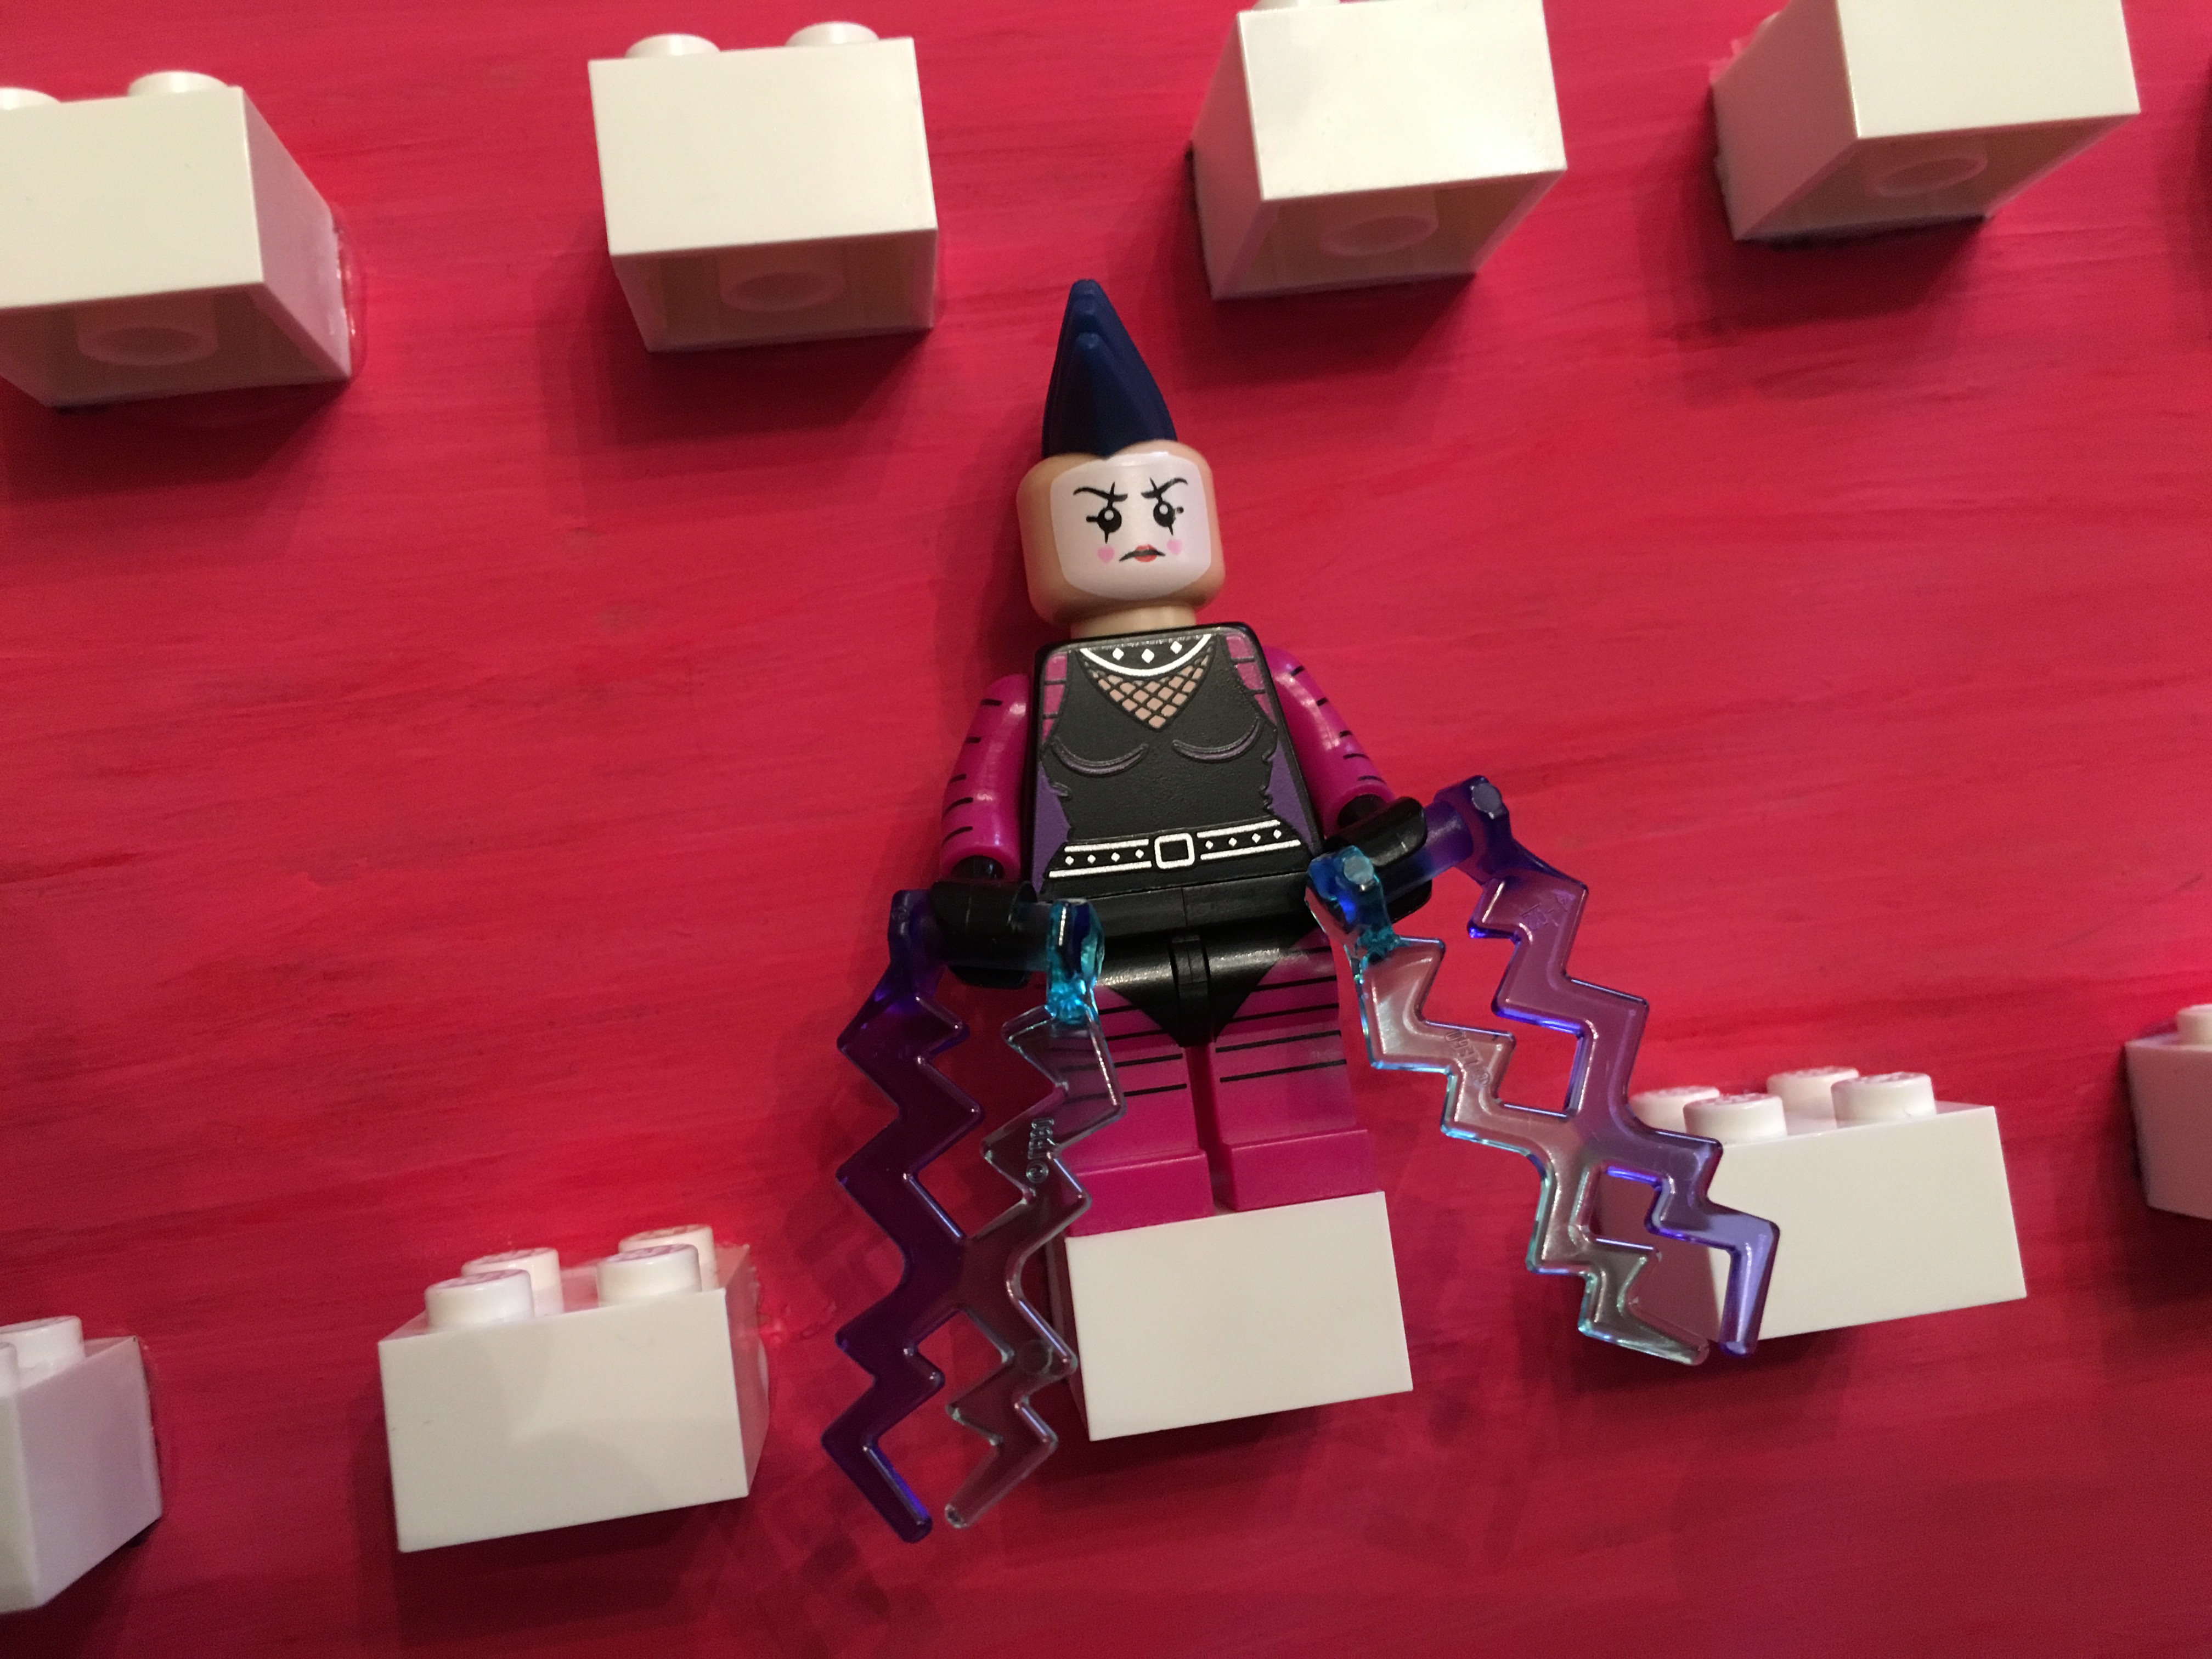
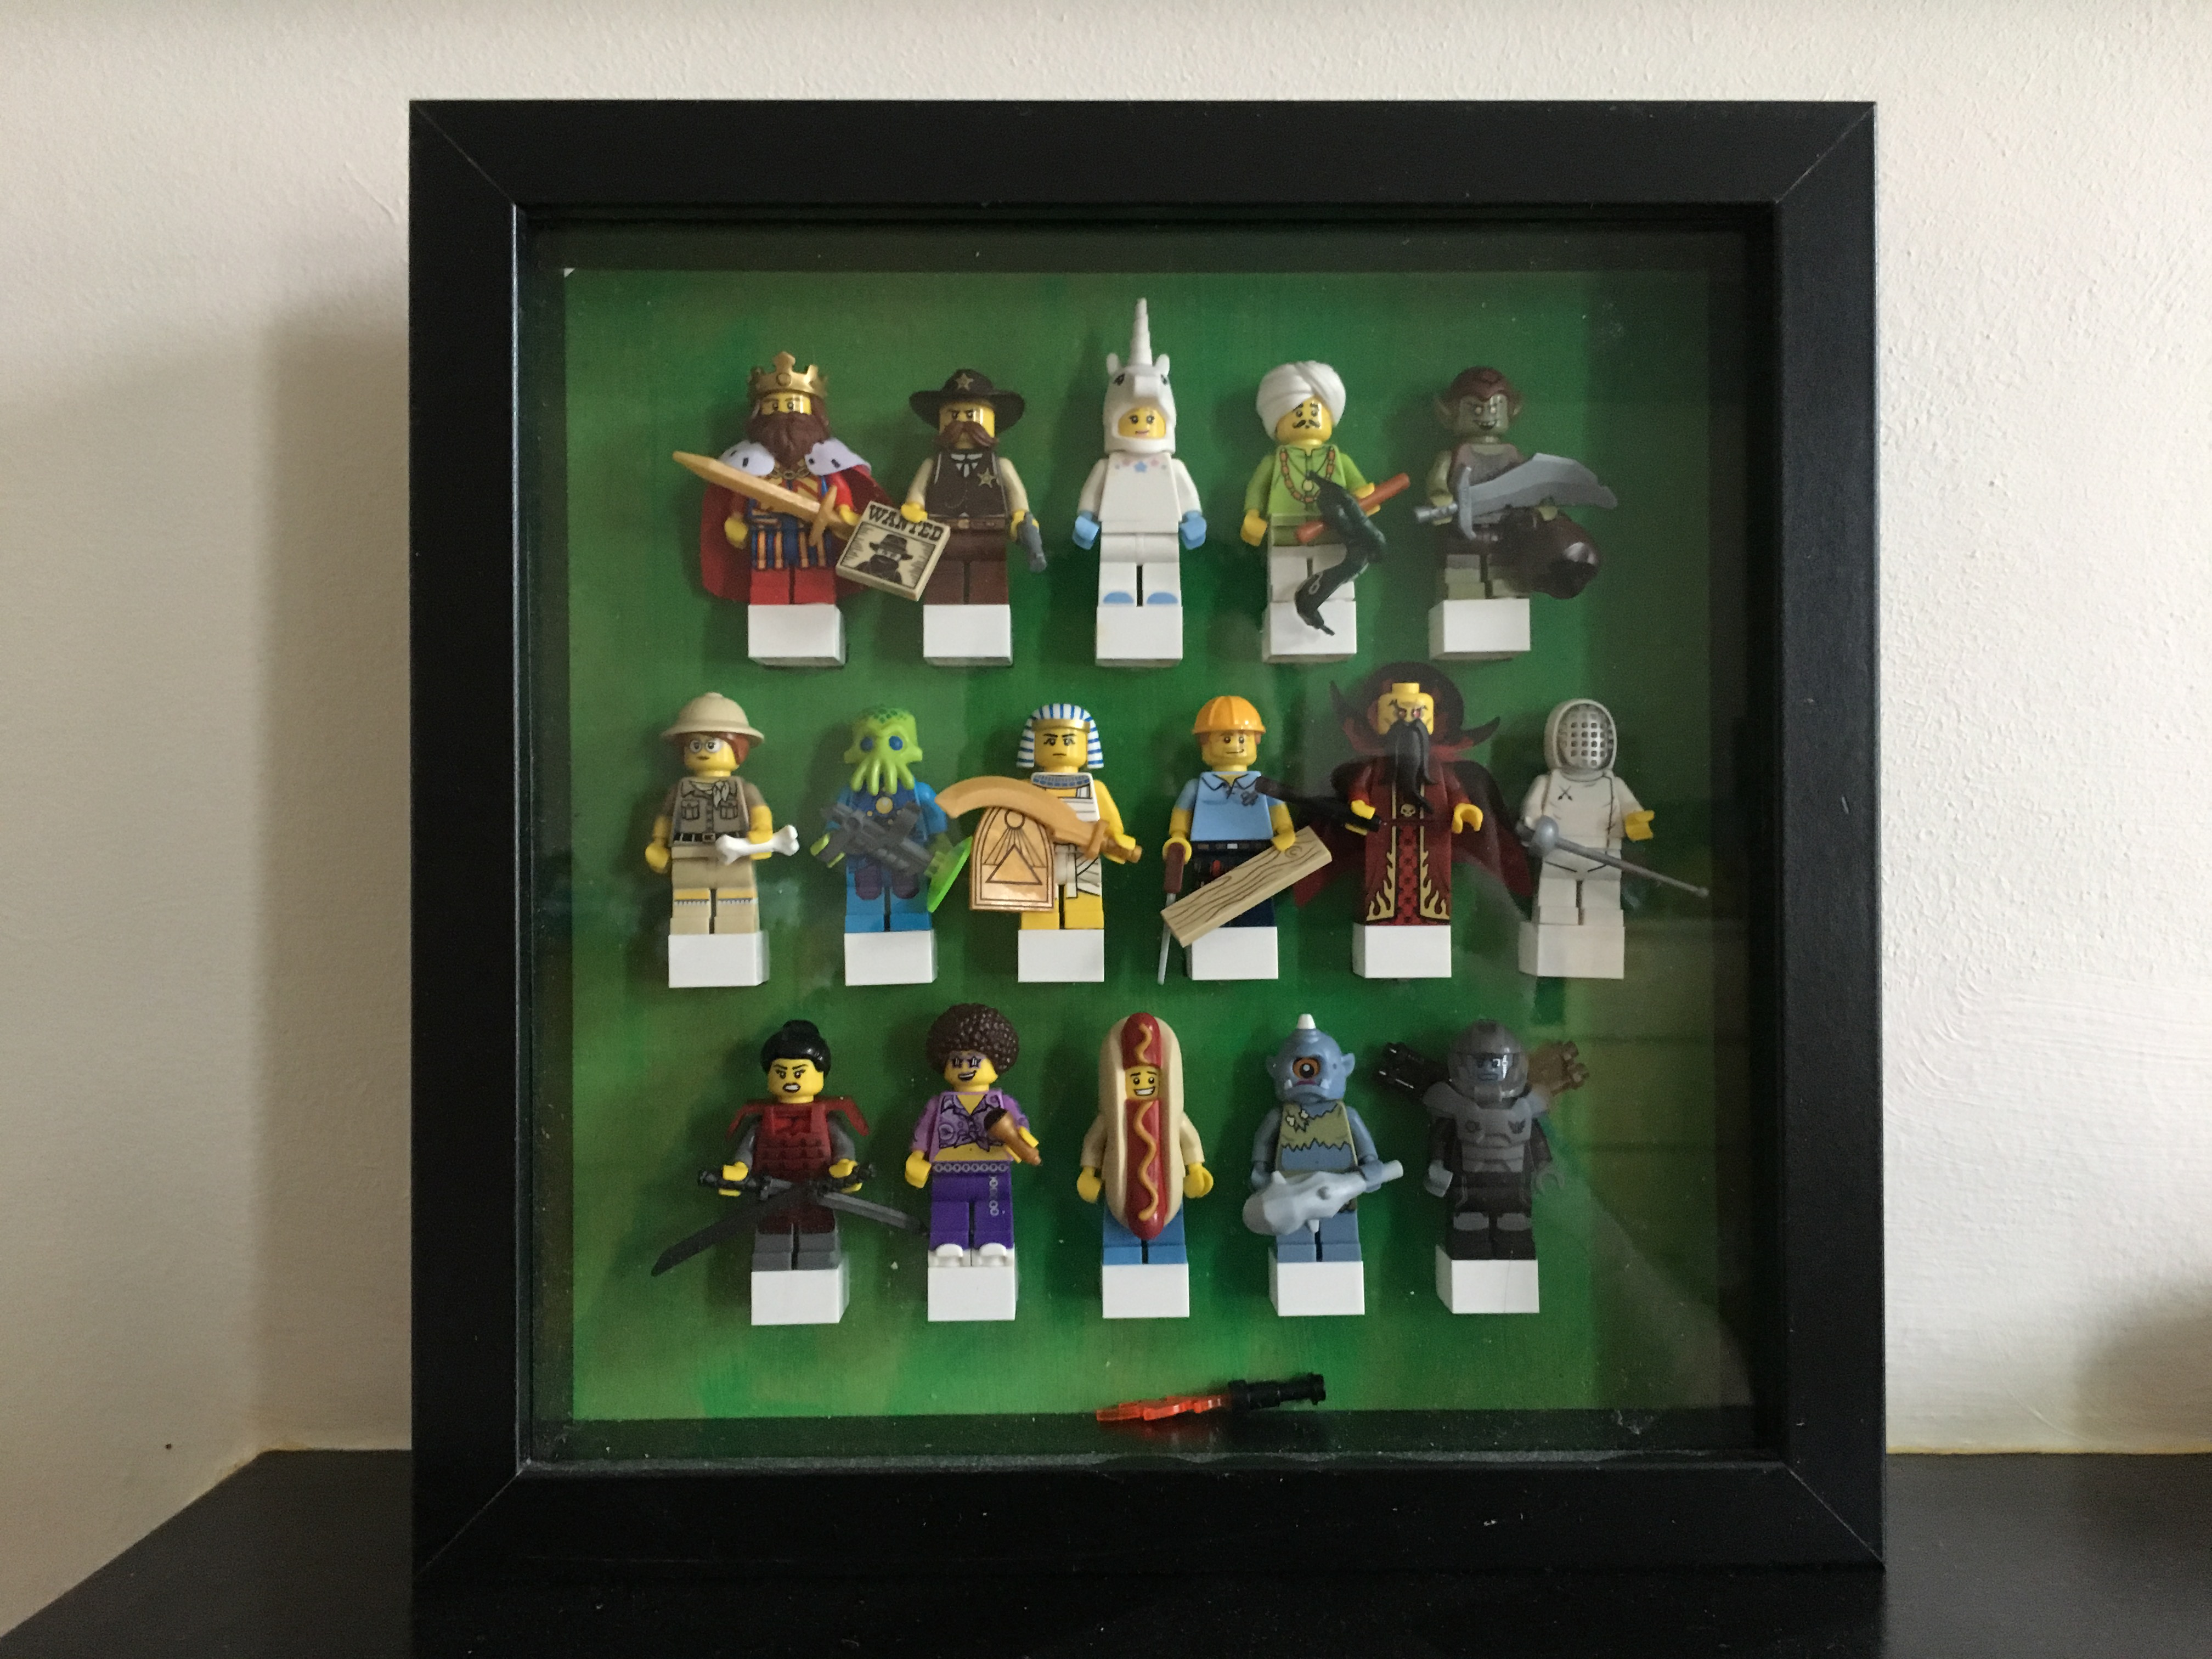
Step 10: Place your minifigures in and re-frame!
If your minifigures come with accessories, you can either place them behind on the brick or make the figure hold them. You will find the odd figure which either has an enlarged base or unusual accessory which needs some creative placing to make it work, but this layout should work for 95% of the regular-sized figures you have.
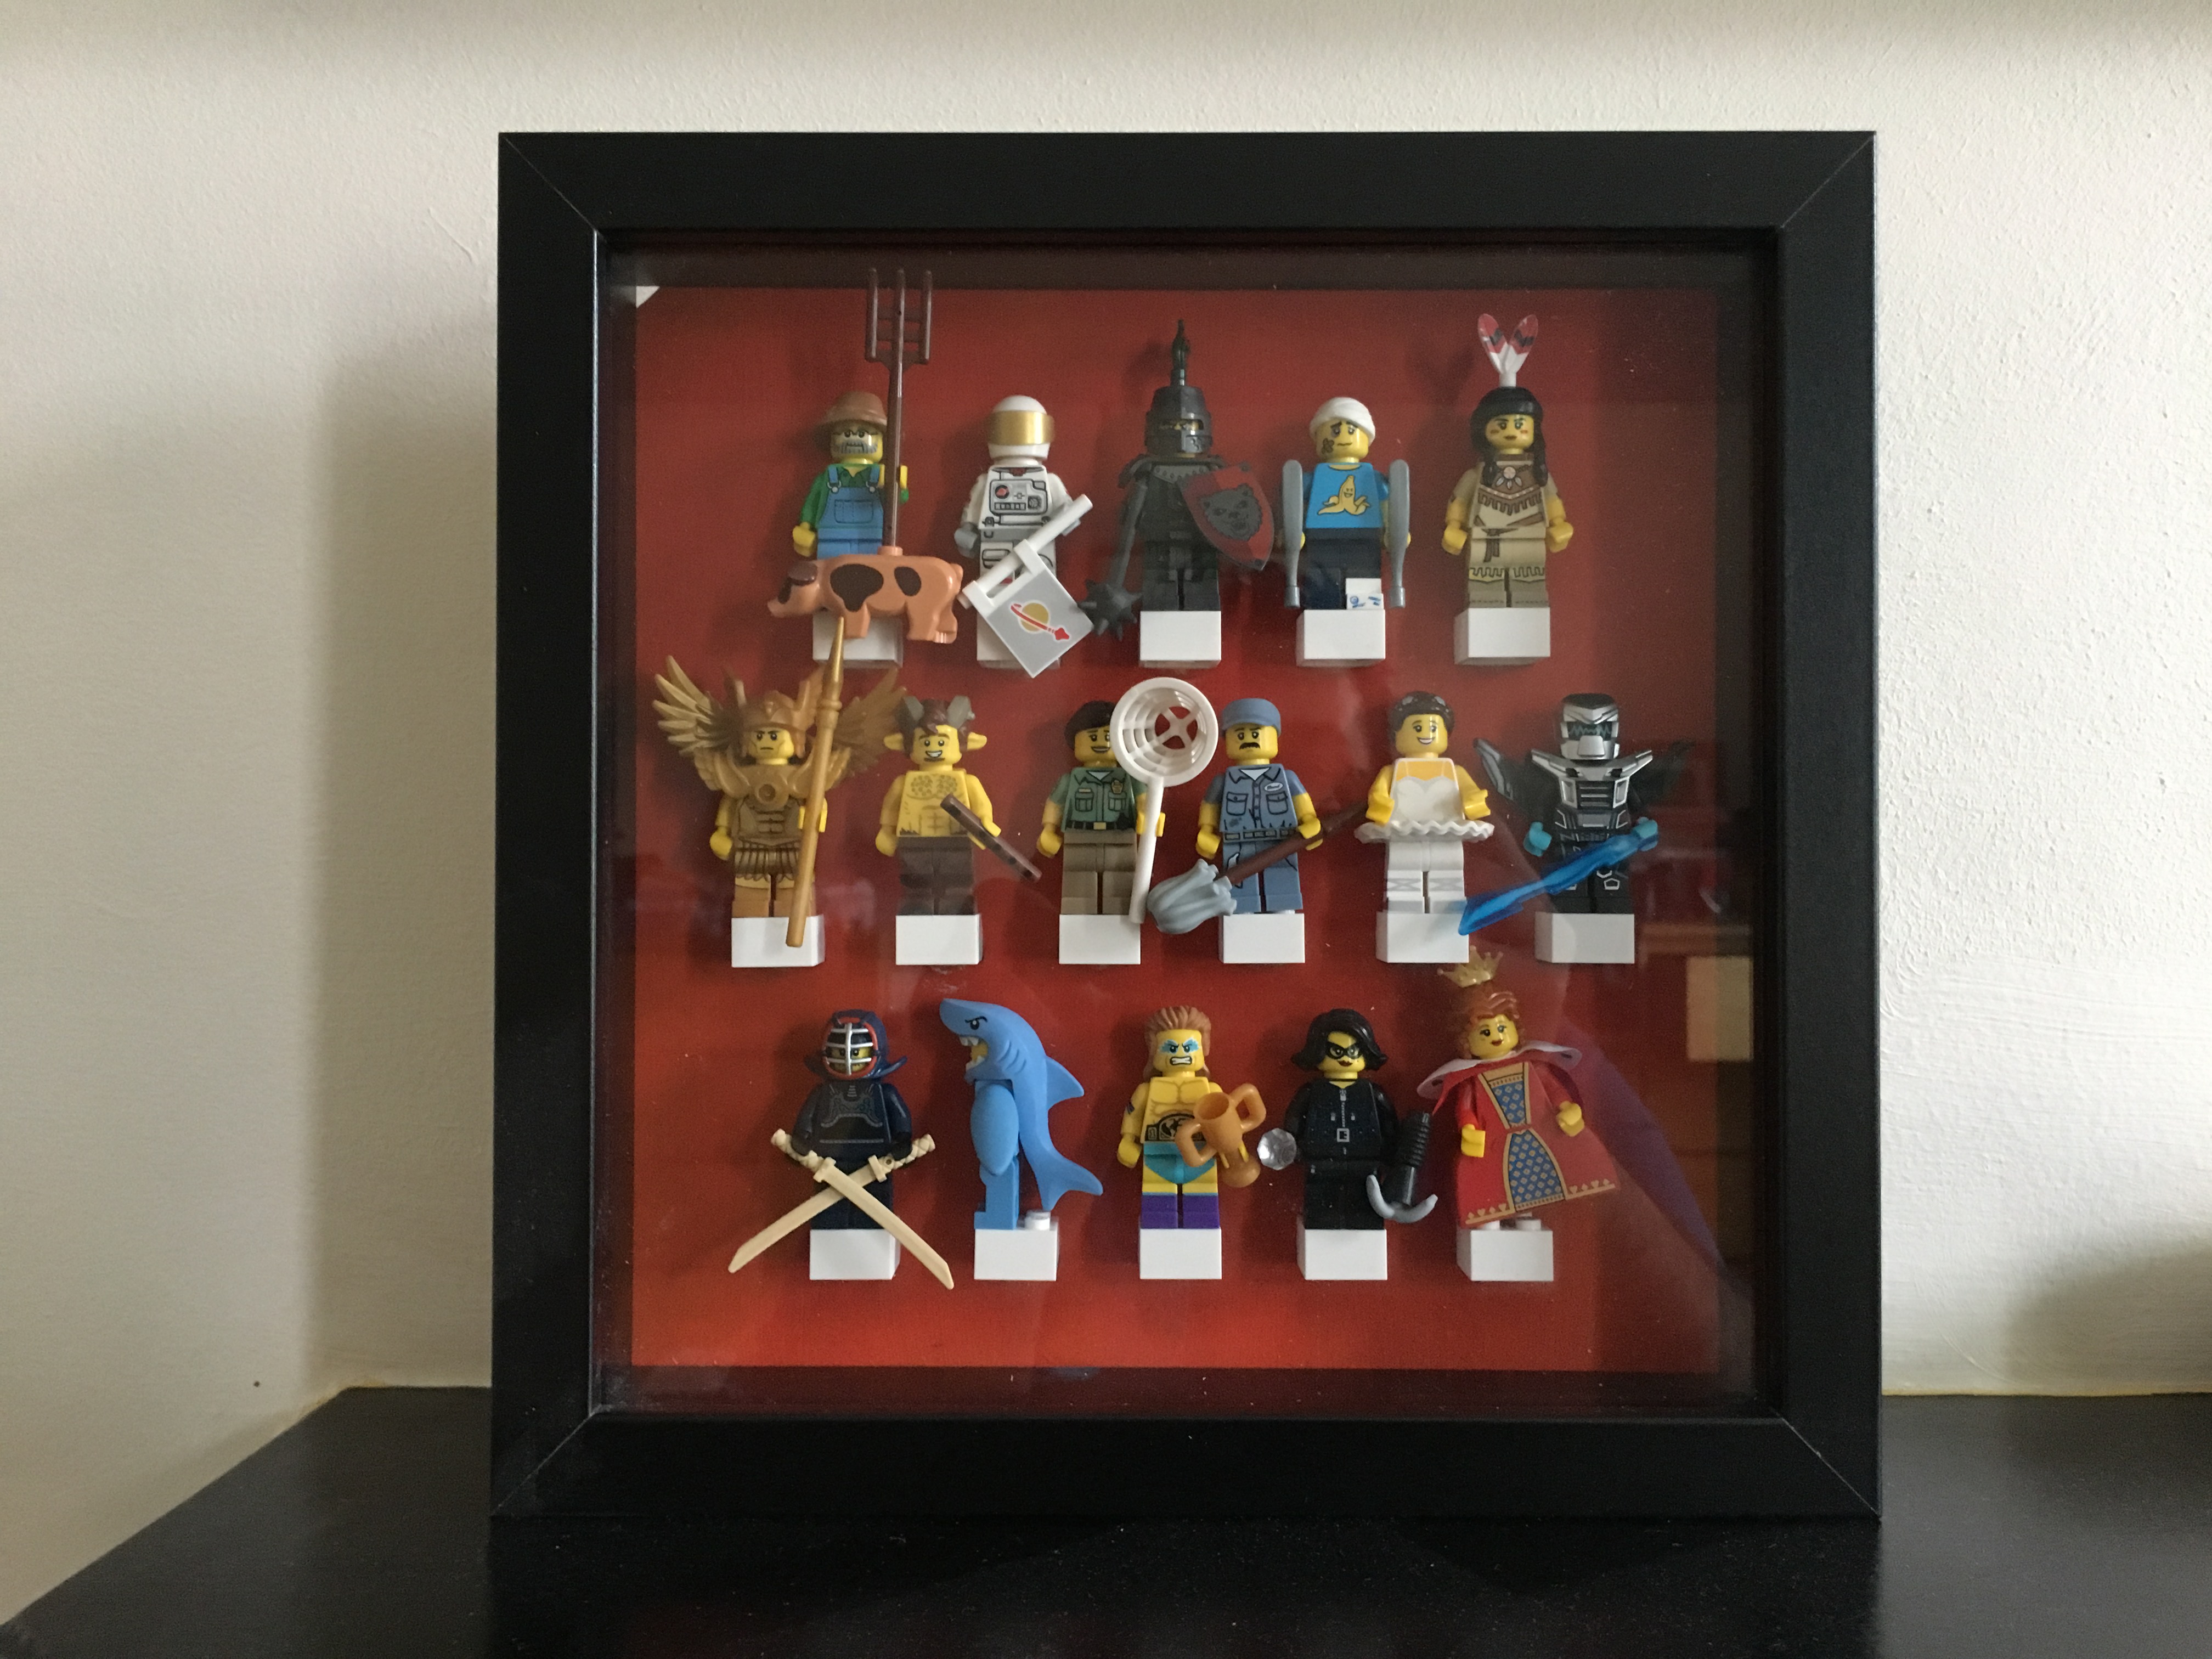
Voila! The finished product(s)…
I currently have about 20 of these finished – most featuring complete collections. I also frame the incomplete ones, as it’s a great way to keep track of which figures I’m missing. Here’s a few of the ones I’ve made. Now I just need a room big enough to be able to put them all up on the wall!

1 thought on “Fatherhood: How-to – Make a Lego Minifigure Storage Display for under £5”